How to build a CI/CD Pipeline for Android with Jenkins and Docker— Part 1
Hello everyone,
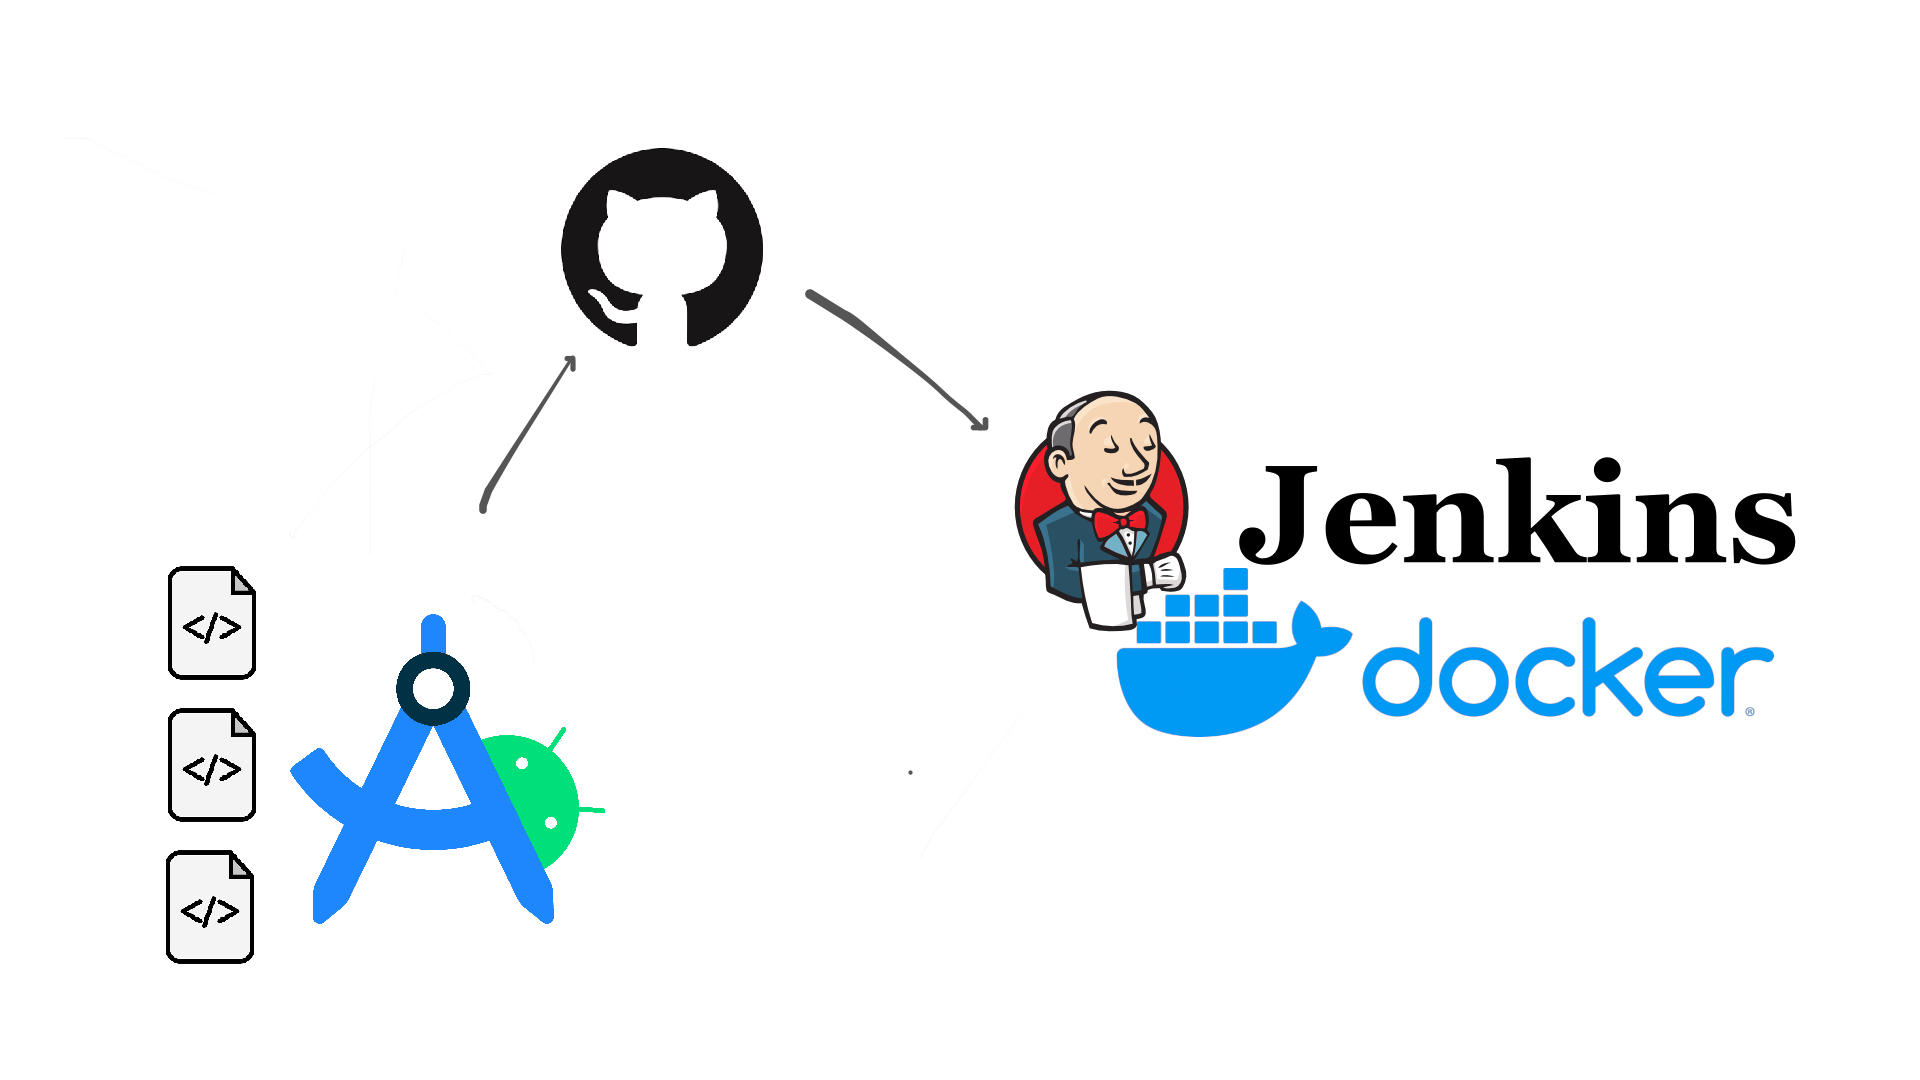
Today, I would like to start the first in a series of articles where I will show you how to set up a Continuous Integration system for Android using Jenkins and Docker.
To be able to develop this guide, it is assumed that Docker is installed and running on your machine.
Before starting I would like to answer 2 questions very quickly.
What is CI/CD?
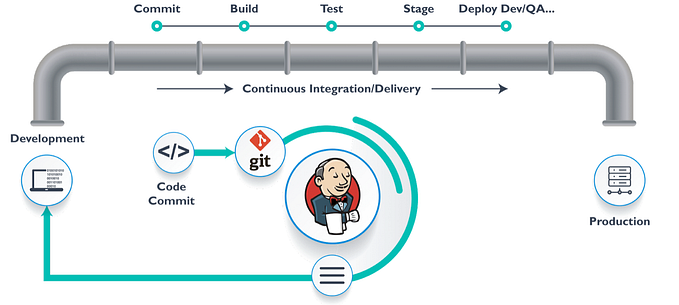
CI (continuous integration) and CD (continuous delivery) are practices that help development teams create high-quality software faster and more efficiently.
Here are some benefits of CI and CD:
1. Improves software quality: By integrating and deploying code frequently and automatically, errors are detected and corrected early.
2. Reduces time to market: By automating integration and deployment tasks, new software versions are released more frequently.
3. Enhances customer satisfaction: By providing new software versions more frequently, customer needs are better met.
What is Jenkins and why use it?
Jenkins is an open-source tool that automates software building, testing, and deployment tasks. It’s a great choice for Android projects because it’s flexible, scalable, and compatible with a wide range of tools and technologies.
Jenkins is a good option for setting up a continuous integration system for Android for the following reasons:
- Flexibility: Jenkins is an open-source and extensible tool, which allows you to adapt it to the specific needs of each project. This is important for Android projects, which can vary greatly in size and complexity.
- Community: Jenkins has a large community of users and developers who contribute to the project. This means there is a wealth of resources available to assist in setting up and using the tool.
- Compatibility: Jenkins is compatible with a wide range of tools and technologies, including Android. This makes it easy to integrate Jenkins into the Android development workflow.
Now, let’s get to the point. 💥
⚙️ Installing Jenkins
To get started, we’ll need to install Jenkins. The simplest way to do this is by downloading the official Jenkins image for Docker from Docker Hub. You can accomplish this with the following command:
docker pull jenkins/jenkins:latest
🚀 Running Jenkins
After downloading the Jenkins image, it’s time to launch a new Docker container with the following command:
docker run -d -u root -v jenkins_home:/var/jenkins_home -v /var/run/docker.sock:/var/run/docker.sock -p 8080:8080 -p 50000:50000 --restart=on-failure --name jenkins jenkins/jenkinsHere’s a breakdown of what this command does:
-d: This flag runs the container in the background.-u root: It specifies that the container should run as the root user. Be cautious about the security implications.-v jenkins_home:/var/jenkins_home: This creates a volume named "jenkins_home" to persist your data.-v /var/run/docker.sock:/var/run/docker.sock: This links the Docker socket, allowing the container to communicate with the Docker daemon.-p 8080:8080 -p 50000:50000: These options expose the Jenkins web interface and the agent port for external access.--restart=on-failure: It instructs Docker to automatically restart the container on failure.--name jenkins jenkins/jenkins: This gives your container the name "jenkins" based on the Jenkins image.
Running Jenkins this way allows it to share volumes for data persistence and grants access to the Docker daemon, enabling container management.
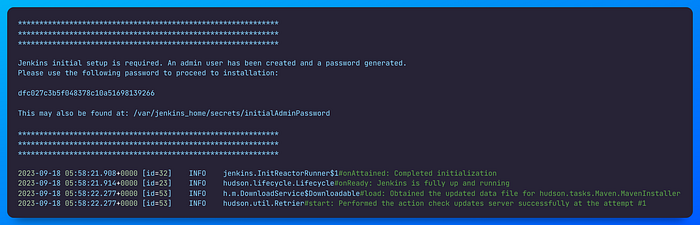
If you choose to run the container in interactive mode (by removing the ‘-d’ parameter), you’ll see the initial Jenkins password. It can be found in /var/jenkins_home/secrets/initialAdminPassword.
⏬ Install docker inside the container
To enable Docker functionality within the container, we need to install Docker and configure it accordingly. Follow these steps to install Docker:
- Enter the container as the root user using the command:
#Enter to container as root with -u 0 or -u root
docker exec -u root -it mycontainer bash
This command allows us to enter the container as the root user.
2. Update the package list to ensure we have the latest package information:
apt-get update3. Install Docker within the container:
apt-get install -y docker.ioThis command installs Docker, allowing us to run instructions that interact with the Docker daemon on the host.
you can see a better way to install docker here
If Docker was installed correctly inside the container, you will be able to see the same instance of the Jenkins container running within Docker, just as if you were viewing it directly from the host.

Initial setup for Jenkins
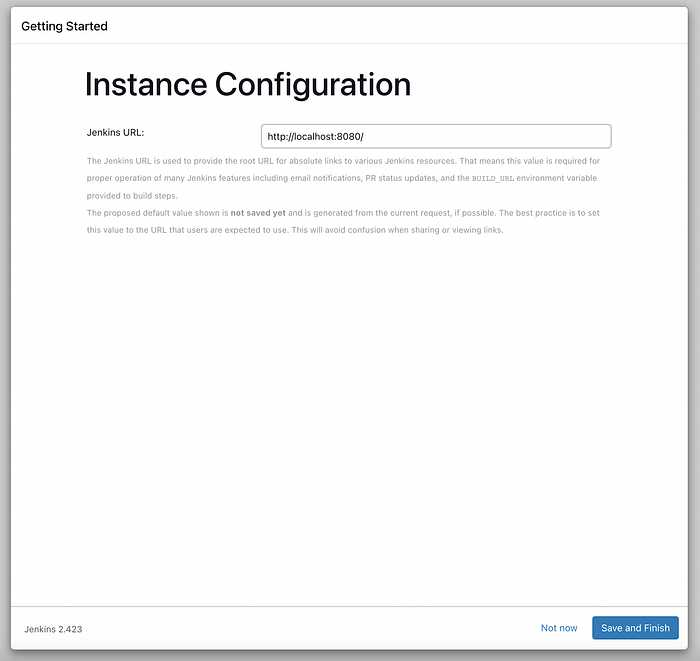
To perform the initial setup for Jenkins, open your preferred web browser and navigate to ‘localhost:8080.’ You should see an initial page prompting you to enter the administrator password. If you ran Jenkins in detached mode, you can find this password in the ‘initialAdminPassword’ file inside the container.
/var/jenkins_home/secrets/initialAdminPassword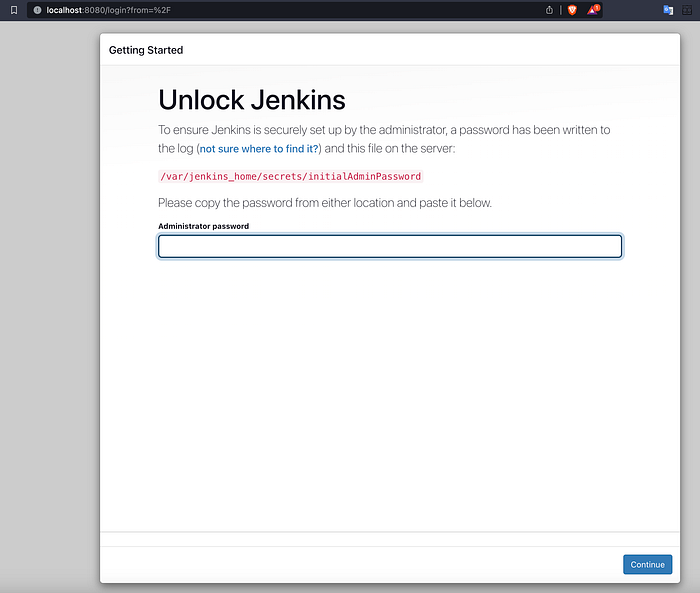
Install suggested or manual plugins.

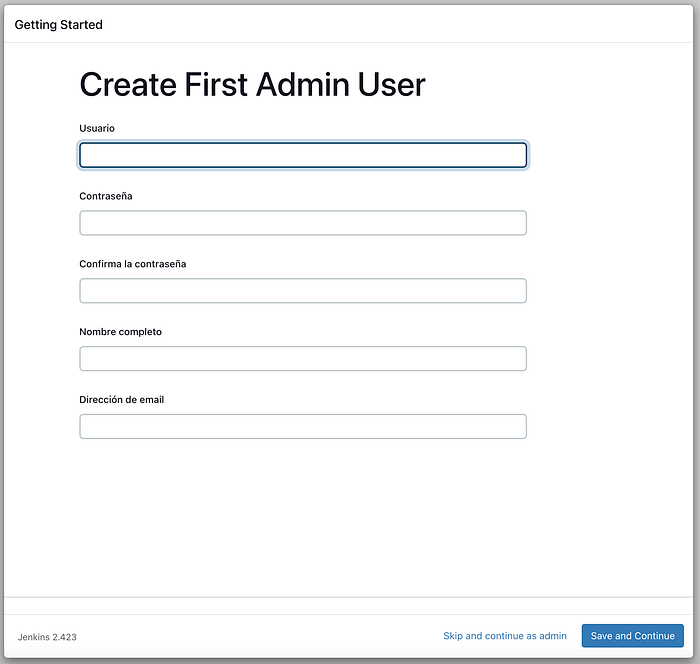
Complete the following form to create the administrator user.
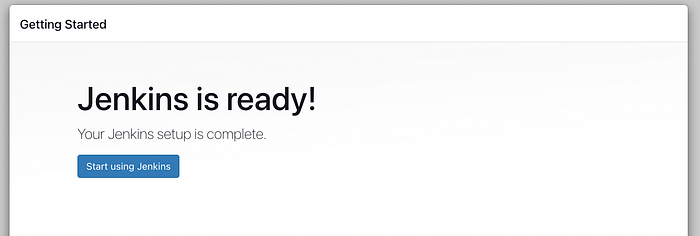
😲 Our Jenkins is now set up with the essential configurations! 🎉😄
🤖 Let’s configure our Pipeline
The time has come to start creating the pipeline for our continuous integration system. We should choose the New Item option from the side menu and then select the Pipeline option.


Find the Pipeline section and replace the script content with the one I provide below.

Pipeline
Before you run the pipeline make sure that the Docker Pipeline plugin is installed in Jenkins
Jenkins plugin which allows building, testing, and using Docker images from Jenkins Pipeline projects.
Now, let’s create our basic pipeline consisting of four main stages: Checkout, Setup, Build, and Run tests.
pipeline {
    agent {
        docker { image 'cimg/android:2023.09.1' }
    }
    environment {
        GITHUB_TOKEN = credentials('GITHUB_TOKEN')
        DIR = '<your-android-project>'
    }
    stages {
        stage('Checkout') {
            steps {
                sh 'git clone https://$GITHUB_TOKEN@github.com/<your-user>/<your-android-project>.git'
            }
        }
        stage('Setup') {
          steps {
            dir(DIR) {
              sh 'chmod +x ./gradlew'
            }
          }
        }
        stage('Build') {
          steps {
            dir(DIR) {
                sh './gradlew build'
            }
          }
        }
        stage('Run tests') {
            steps {
                dir(DIR) {
                    sh './gradlew test'
                }
            }
        }
    }
    post {
        always {
            cleanWs()
        }
    }
}
Below I will explain each part of the script very quickly.
GITHUB_TOKEN
It’s a Jenkins secret that contains the personal access token for Github in case your project is private; otherwise, it’s not necessary.
Stages
- Checkout: It’s the section where we are going to clone our repository.
- Setup: In this step we could add previous configurations before the build and tests.
- Build: Here we compile the Android project using Gradle.
- Run tests: We could have unit tests and/or integration tests here.
Post
The post stage runs after all previous stages have completed, regardless of whether the pipeline was successful or not. This means that the Android project directory will always be deleted from the workspace, even if the pipeline fails.
This can be useful for freeing up space in the workspace, or to prevent Android project files from persisting between pipeline executions.
cimg/android image
According to the official documentation.
This image is designed to supercede the legacy CircleCI Android image,
circleci/android.
cimg/androidis a Docker image created by CircleCI with continuous integration builds in mind. Each tag contains an Android environment and toolchain. Including several API SDKs, command line tools, build tools, Ant, Gradle, Google Cloud SDK, and more.
Finally, save the pipeline by clicking on the Save button.
If you have made it this far, congratulations! 🎉 At this point, you should be able to run the Pipeline with the Build now option. 🚀

Common Mistakes 😰 🤕
Permission denied
You need to run the Jenkins container with a user having the necessary privileges on the Unix socket to connect to the Docker daemon; otherwise, when trying to manipulate Docker containers within the Jenkins pipeline, you will encounter a permission error like the following:
dial unix /var/run/docker.sock: connect: permission denied

Docker pipeline plugin not installed
If the Docker Pipeline plugin is not installed, you will get an error similar to the following when running the pipeline. Please make sure Jenkins has it installed.
org.codehaus.groovy.control.MultipleCompilationErrorsException: startup failed:
WorkflowScript: 3: Invalid agent type "docker" specified. Must be one of [any, label, none] @ line 3, column 9.
           docker { image 'cimg/android:2023.09.1' }
           ^

1 error

 at org.codehaus.groovy.control.ErrorCollector.failIfErrors(ErrorCollector.java:309)
 at org.codehaus.groovy.control.CompilationUnit.applyToPrimaryClassNodes(CompilationUnit.java:1107)
 at org.codehaus.groovy.control.CompilationUnit.doPhaseOperation(CompilationUnit.java:624)
 at org.codehaus.groovy.control.CompilationUnit.processPhaseOperations(CompilationUnit.java:602)
 at org.codehaus.groovy.control.CompilationUnit.compile(CompilationUnit.java:579)
 at groovy.lang.GroovyClassLoader.doParseClass(GroovyClassLoader.java:323)
 at groovy.lang.GroovyClassLoader.parseClass(GroovyClassLoader.java:293)
 at org.jenkinsci.plugins.scriptsecurity.sandbox.groovy.GroovySandbox$Scope.parse(GroovySandbox.java:163)
 at org.jenkinsci.plugins.workflow.cps.CpsGroovyShell.doParse(CpsGroovyShell.java:190)
 at org.jenkinsci.plugins.workflow.cps.CpsGroovyShell.reparse(CpsGroovyShell.java:175)
 at org.jenkinsci.plugins.workflow.cps.CpsFlowExecution.parseScript(CpsFlowExecution.java:580)
 at org.jenkinsci.plugins.workflow.cps.CpsFlowExecution.start(CpsFlowExecution.java:526)
 at org.jenkinsci.plugins.workflow.job.WorkflowRun.run(WorkflowRun.java:335)
 at hudson.model.ResourceController.execute(ResourceController.java:101)
 at hudson.model.Executor.run(Executor.java:442)
Finished: FAILURE
🔐 Security Considerations
In this article, we ran the container with the root user, which comes with certain risks if proper security measures are not taken into account. For a continuous integration environment with Jenkins, I would suggest using a dedicated machine isolated from the rest of the systems for this specific purpose. Additionally, it’s crucial to ensure the use of trusted Docker images. Furthermore, creating a non-root user with the necessary permissions on the docker.sock can enhance security.
Here’s a list of resources where you can find more information to add additional layers of security to your Docker setup:
You can add an extra layer of safety by enabling AppArmor, SELinux, GRSEC, or another appropriate hardening system.
- Docker security
- Use trusted images
- Linux post-installation steps for Docker Engine
- Daemon socket option
📚 Sources
Let me know in the comments some security aspects to prevent attacks from malicious people, you would help me a lot to improve this series of articles 🙂 🙏🏻
Other articles in this series
- How to build a CI/CD Pipeline for Android with Jenkins and Docker — Part 1— you are here
If you like my content and want to support my work, you can give me a cup of coffee ☕️ 🥰


Follow me in
- X: @devjcastro
- Linkedin: devjcastro